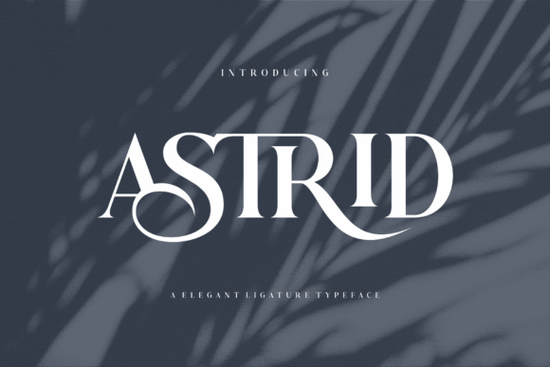
If you are looking for a typeface that adds quiet sophistication without demanding attention, Astrid Font delivers exactly that. Crafted with graceful letterforms and thoughtfully proportioned stems, it bridges classic serif traditions with contemporary readability. Whether you are drafting a logo for a boutique brand, preparing a print-on-demand mockup, or simply designing event invitations for yourself, this character set offers the visual balance needed to keep your layouts feeling polished and intentional.
Why choose a serif typeface for polished projects?
Serif typefaces carry a historical weight that sans-serifs simply cannot replicate. The small decorative strokes at the ends of letters guide the eye smoothly across lines of text, which improves readability for longer passages while still adding decorative value when used at larger sizes. Astrid leans into this advantage by combining intricate terminal details with a consistent x-height. Those subtle curves keep the overall rhythm relaxed, preventing the design from ever feeling stiff or overly formal. Small business owners often pair these letters with muted earth tones or crisp white backgrounds to achieve that understated luxury look. Designers who experiment with tracking adjustments will notice how the negative space remains open enough for digital screens yet retains enough contrast to print clearly on fabric or paper. If you enjoy exploring curated collections that highlight refined typefaces, reviewing a dedicated gallery like astrid font serif fonts provides helpful context for comparing spacing variations and weight options side by side.
Which projects handle this style most effectively?
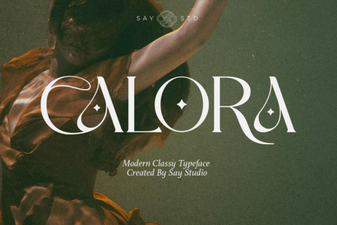
The versatility of this character set shines across multiple creative workflows. Print-on-demand sellers frequently use it for apparel graphics, wall art quotes, and packaging labels because the high contrast holds up well during screen printing and heat transfer processes. Crafters working with vinyl cutters or laser engravers appreciate the clean stroke terminals, which reduce weeding errors and produce sharper edges on wood or acrylic. Hobbyists drafting wedding stationery, menu boards, or custom mugs find the moderate weight range reliable for both headlines and supporting copy. When applying the style to merchandise, keeping line lengths between forty-five and seventy-five characters ensures the subtle curves never crowd together on curved surfaces like hats or tote bags. You can also rotate through similar atmospheric choices if your current project calls for a different mood. Exploring related styles such as calora font serif fonts provides an easy way to build cohesive families without switching tools or adjusting baseline grids mid-design.
How do you get started and set it up correctly?
Before diving into production, verifying the licensing terms is essential, especially if you plan to sell finished goods. Most platforms grant broad commercial rights for physical products, but some restrict embedding the files directly into applications or distributing the raw font packages. Always double-check the usage limits for each intended application, from social media graphics to printed point-of-sale materials. Once your license is confirmed, unzip the package and install the supported formats directly into your operating system. Many creators recommend setting your leading to roughly one-fifteen times the point size to let those intricate serifs breathe properly. Adjusting kerning pairs like AV or LT manually will always yield cleaner results than relying on auto-kerning alone. For designers who want to preview how the glyphs interact with specific color palettes, testing the full character set online at Astrid saves time before downloading assets you may not need.
Quick setup checklist for your next design batch
Need a reliable workflow reminder before exporting final files? Keep this short list handy to prevent common formatting mistakes.
- Verify file formats: Ensure you have OpenType or TrueType versions compatible with your design software.
- Set baseline alignment: Lowercase descenders often hang slightly; adjust vertical positioning so caps and ascenders sit flush on your layout grid.
- Test print resolution: Convert vector outlines to three-hundred DPI bitmap images only if your printer requires raster files.
- Check contrast ratios: Dark lettering on light backgrounds or light lettering on dark backgrounds maintains legibility across packaging and digital previews.
- Save layered source files: Export editable .ai or .eps documents alongside flattened PNGs for future revisions.
 Calora Font: Creative Typography for Modern Design
 The Ab Typewriter Font: a Timeless Design Tool
 A Creative Guide to the Strawberry Shortcake Font
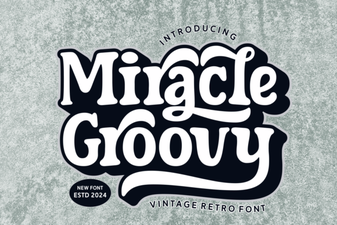 Miracle Groovy Font for Creative Design Projects
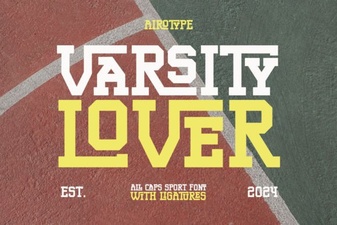 Unlock Your Creativity with the Varsity Lover Font
 Designing with Typography Inspired by Dog Breeds